
When it comes to ice cream, I’m not sure what I like the most, the ice cream or the cones. Every time I go to Fairfax Scoop, our favorite ice cream shop in town, I wonder how difficult it would be to make sugar cones at home like the ones they make at their store. Would I need to have special equipment? This thought crossed my mind again last Sunday as we drove through town on our way to the supermarket. Sarah was driving, so I was able to use my phone to google a bit and found a recipe that looked pretty easy.
It was almost 90 degrees outside and ice cream sounded like a good idea. We got the ingredients at the store and got started right away after we got back to the house. Making sugar cones sounded a bit intimidating, but honestly, it was super simple! All you need is a bowl and a whisk and something to prevent the cookies from sticking to the baking sheet. I used a silicone mat but you can use parchment paper, too. This way you can easily scoop up the cookies and roll them up into the cone shape. Just take your time and let it be an experiment. I’d say, don’t invite a bunch of friends over the first time you try these. (That was my approach.)

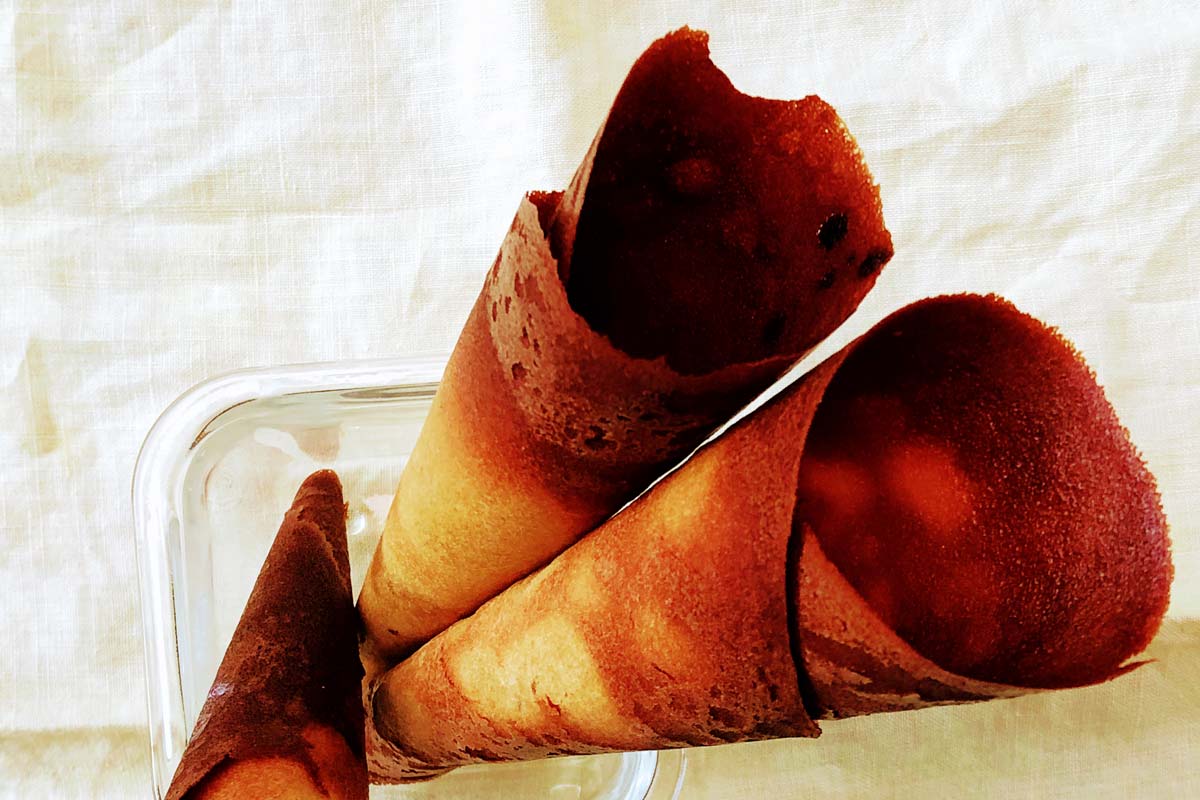
Obviously, I need more practice. The cones didn’t look super beautiful, but they tasted delicious! Next time, I might make a mold so that they are all the same shape as they show in this video from America’s Test Kitchen. But honestly, if you are careful, you won’t need the forms.
Homemade Ice Cream Cones
Slightly adapted from baking-sense.com, because I was out of a few ingredients.
ingredients
- 1 cup sugar (I used brown sugar)
- 1/2 stick unsalted butter, melted
- 2 eggs
- Pinch of salt
- 1/2 cup milk (I used reduced-fat milk or 2%)
- 1 tablespoon vanilla extract
- 1 cup flour
method
In a large bowl, use a whisk to combine the sugar, eggs, salt, milk, vanilla, and butter. (Make sure the butter has had time to cool down and is not too hot.) Slowly, incorporate the flour until the mixture resembles pancake batter. Cover the bowl and set it aside to allow the batter to rest for at least 30 minutes before baking. (This mix can also be stored in the fridge for a few days, just make sure the mixture is at room temperature before baking.)
Preheat the oven to 350ºF. In a cookie sheet lined with a silicone mat or parchment paper, make two cookies by thinly spreading about two tablespoons of batter per cookie in the shape of a circle. Mine were about 5-7 inches in diameter. I left about 1 inch between each cookie so they wouldn’t touch. The key to making these is to spread the batter super thinly to ensure a crunchy result.
Bake each batch for about 8 minutes, until golden brown. Remove the baking sheet from the oven. Use a spatula to lift each (still hot) cookie up and roll them up in the shape of a cone. If for some reason the dough hardens before you have achieved the right shape, placing the cookies back in the oven for a bit will soften them up again. Continue to work in batches until you have the desired amount of cones. To store, let the cones cool completely and place them in an airtight container. Enjoy them with your favorite ice cream!
Makes about 20 cones. (This all depends on your skill level and how many you mess up.) I made 5 and called it a night. So worth it, though!


Se ven deliciosos!