
I can’t help it. I start new projects all the time. Just when you’d think I’ve got enough going on, something new pops into my head and I need to try it.
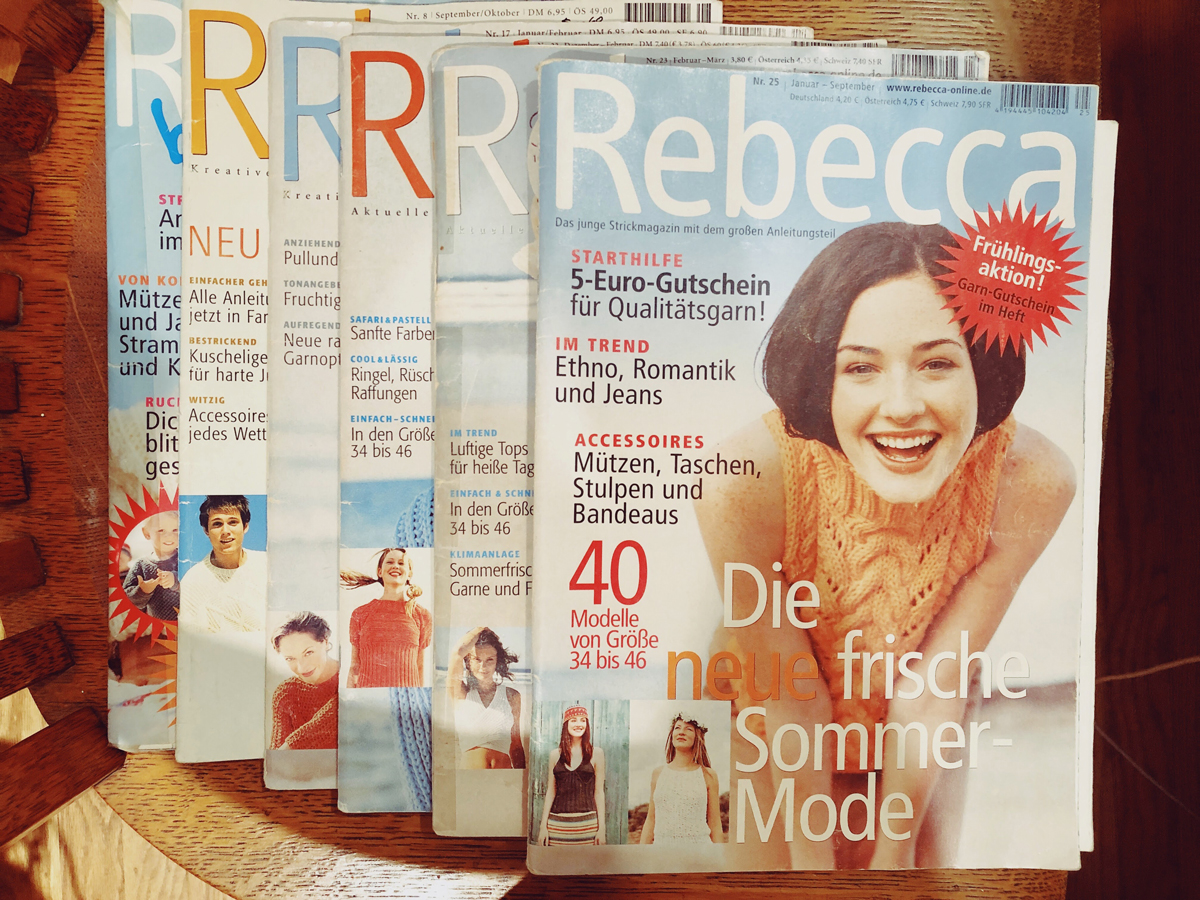
That happened this weekend when I was browsing through some of my old Rebecca magazines. These are German knitting magazines I’ve had since I started knitting (about 20 years ago.) Yes, I still have them! Do you save your magazines?

Well, I’ve found out most of my magazines are now considered vintage and you can only find them at places like eBay or Etsy.
Rebecca magazine is still published today, so you can easily get newer issues starting with #34 on their website, but earlier issues like the ones I have, #21, #23, and #8! Those are hard to come by.
So, I feel lucky to still have them.
Some people may ask, why bother keeping them if all the yarns are now discontinued? That’s right! But, if you can find a similar yarn, you can use them forever.
And that’s where my new project idea came from. Ever since I bought magazine #23, I dreamed of making this zipped-up jacket which is knit in half fisherman’s rib.

I loved the color, the chunky fabric, and the fact that it was cotton. But, like so many things I often want to make, I never got around to it. And now 20+ years have passed and this beautiful yarn is discontinued.
Since I’ve been knitting lace for the past few weeks using #3 needles to make the April Blouse, the thought of knitting something chunky in a super easy stitch pattern using large needles sounded like a dream. So, I had to cast on this sweater.
I remembered I had some chunky wool in orange-red somewhere in the house. Could that yarn work with this pattern? It would be such a good way to use up the wool, and if I liked the design, I could try it in cotton next time — if I could find something similar.
I found the wool and made a large swatch following the instructions for the sleeve. My gauge was slightly off, so I was going to have to make a few adjustments.
How did you do that again? Ah, Youtube to the rescue!
I had to refresh my memory on how to adapt a different gauge to a pattern, but after a little math, I was ready to start.
If you are still reading and interested in how I calculated this, I’ve drawn a little chart.

What you do after you figure out your conversion factor, is multiply the stitch count in the pattern by your conversion factor.
So, let’s say the pattern asks you to cast on 30 stitches. You then multiply that number by your conversion factor. Mine is 1.166. (30 X 1.166=34.98). This is the adjusted number of stitches to cast on. You can round up to 35 or down to 34.
Since the pattern is asking to cast on an even number of stitches, which is essential, you should use 34 or 36 stitches. I would probably use 34 in this case.
Then, you would do the same with the rows. Since the conversion factor for rows is close to 1 in this case, I’m not going to make any adjustments, but I might need to when I get to the decreases.
Note: Don’t forget, you may also need to study the pattern a bit more carefully since you may need to take into consideration edge stitches or the number of stitches needed for cables or other designs in your chosen pattern. You may need multiples of 2 or 6 or something else to complete a pattern repeat. But let’s keep this simple for now.
You can try this method whenever you want to use a different yarn with a pattern you like, especially if it’s something simple like a scarf. Of course, you’d always start with something similar if you want your finished item to look like the pattern you are using as your guide. Here where I live, the people at the yarn shops are very knowledgeable and helpful in showing you yarns that may work.
KEEP IN MIND that substituting yarn is almost an art form. Even when yarns may look almost identical, you need to make sure you consider a few other things. And sometimes, it can be nearly impossible to make things work.
Here’s a great video by “Knitting the Stash” on Youtube that explains this. In summary, what you should look for if you want a close match:
Keys to Yarn Substitution
Composition: What kind of fiber makes up the yarn you are trying to substitute, and what are the percentages of each (alpaca, silk, merino wool, etc.)? You want to look for something very similar to get similar results.
Construction: Single-ply, multi-strand, chain, bouclé. This is important because it will change the way your fabric looks, feels, and how much it drapes.
Grist: This is the density of the yarn you’ll use. What is the weight of the yarn? Is it fingering, DK, Aran, or chunky? How many grams and yardage are there per skein in the yarn you want to use compared to what the pattern calls for? You may need more or fewer skeins to get the same yardage, so it’s always good to check.
Color: This is a very personal choice, but good to check if there will be enough in your chosen color. Remember to check the dye lot and get a bit more in case you run out.
Availability: This one is obvious.
For this project, I know the composition is very different, 100% wool instead of 50% cotton-50% acrylic. Thus, I’m not expecting to get the same drape as I would if I were using the cotton blend specified in the pattern. My stitches will not be as defined as if I were using cotton, but I’m willing to try this out.
Anyway, what seemed like a quick project is probably going to take longer than I hoped. But, look at all that I have learned!
And here’s a look at my project so far, the left front is ready and looking good.

April Blouse Update
My April blouse is slowly growing! I’m almost done with the third ball of yarn. I have eight balls. But I don’t want to rush. My goal right now is to finish by September, before it gets cold again.

The lifelines I started using after I made a mistake I couldn’t fix and had to start over are helping a lot. Knowing I won’t need to start over makes me very happy.
Something I learned is that the material and weight of the yarn you choose for your lifelines matters! This is because the first row you knit with the lifeline can be a bit difficult to knit because of the added thread.
I tried cotton in a similar weight as the yarn I’m working with first, but it was too thick and the stitches were getting stuck.
Then, I tried some fishing line I borrowed from Patrick. The fishing line worked great because it’s just as smooth as my circular needle cable, so the stitches could slide off the needles smoothly, making it super easy to knit that first row. The only problem with this material is that you need to know how to make a very good knot or else you’ll be nervous about it coming undone the whole time! My knot was pretty strong, but I decided to try something else.
I opted for a thinner, fingering-weight thread. This made it a lot easier to knit the first row, although knowing it can break easily, makes me a bit nervous. So, I might go back to the fishing line. For peace of mind, I’m just adding lines every eight or 16 rows –– just in case. Anything is better than starting over!
In other news, I’ve been out hiking this weekend. We are having a four-day weekend because of the Fourth of July holiday and the pool is closed for a few days. It’s beautiful outside and I love that my running shoes are starting to look like real hiker’s shoes.

I just need to remember to bring my water bottle when I go on hikes. I had a bit too much sun on Saturday, but I’m feeling better.
These are some photos from my Saturday walk, which you may have already seen if you follow me on Instagram.

This is one of my favorite hikes. It’s about three miles. What I love about this hike is that you are on a path all the way surrounded by nature and pretty views like Mt. Tamalpais in the distance and Corte Madera Creek. I always see some ducks, and sometimes geese.

This time, there were lots of kids riding their e-bikes. Thankfully I heard them just in time to get out of their way. For some reason, they remind me of the Harley Davidson crews that used to ride through Stinson Beach on the weekends. Watch out!


